Turning a photo into a cross stitch pattern used to mean graph paper, colored pencils and a lot of patience. Today a converter can do the heavy lifting in seconds — but the results still depend on a handful of decisions only you can make. This guide walks through them in the order that matters.
1. Choose (and prepare) the right photo
The best photos for cross stitch share three things: a clear subject, a simple background and strong contrast. Cross stitch is a low-resolution medium — even a large pattern has far fewer "pixels" than a phone photo — so small details disappear and busy backgrounds turn into noise.
- Crop tightly. Remove everything that isn't the subject. A face should fill most of the frame.
- Prefer soft, even light. Harsh shadows become hard-edged blocks of dark floss.
- Avoid tiny subjects. A dog in the middle of a big lawn will become a few dozen stitches.
- Edit first if needed. Brightening a dark photo or blurring a busy background in any photo editor helps more than any converter setting.
Read our guide to choosing photos for cross stitch for examples of what works and what doesn't.
2. Decide on the size
Pattern size is measured in stitches, and it's the setting with the biggest effect on both detail and stitching time. The finished size in inches is simply the number of stitches divided by the fabric count:
finished width (in) = stitches ÷ fabric count
On standard 14-count Aida, a 100-stitch-wide pattern is about 7.1 inches (18 cm) wide. Use our size calculator to try different combinations.
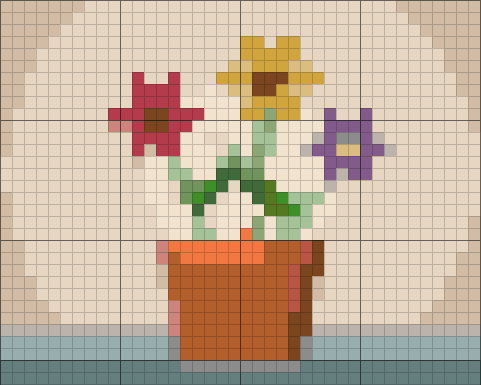 40 stitches wide
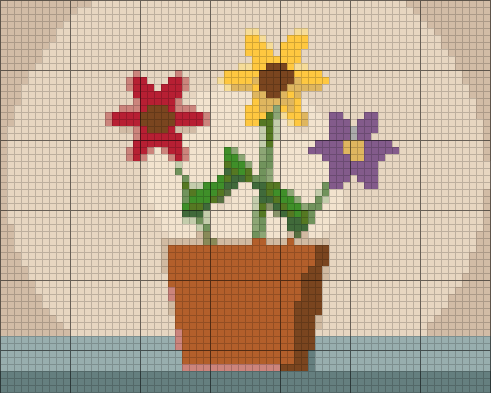 70 stitches wide
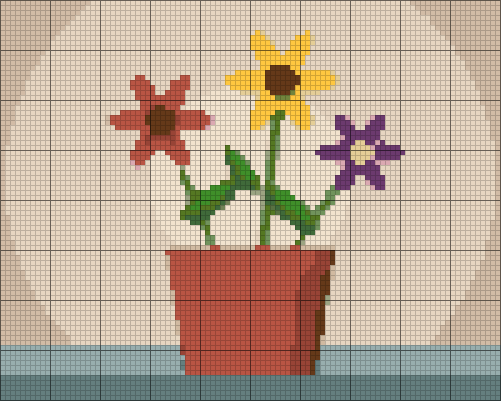 100 stitches wide
| Subject | Suggested width | On 14-count |
|---|---|---|
| Icon, logo, simple shape | 30–60 stitches | 2–4 in |
| Pet or face (head only) | 70–100 stitches | 5–7 in |
| Full portrait or group | 120–180 stitches | 8.5–13 in |
| Detailed landscape | 150–250 stitches | 11–18 in |
Remember that stitch count grows with the square of the size: doubling the width of a pattern roughly quadruples the number of stitches. A 100 × 100 design is 10,000 stitches — at a comfortable 200 stitches an hour, that's about 50 hours.
3. Pick the number of colors
A photo contains thousands of distinct colors; a pattern uses a few dozen at most. The converter groups similar colors together and then matches each group to the closest DMC floss. Fewer colors give a bolder, more graphic look and fewer thread changes. More colors capture smooth skin tones and gradients but mean more skeins to buy and more confetti.
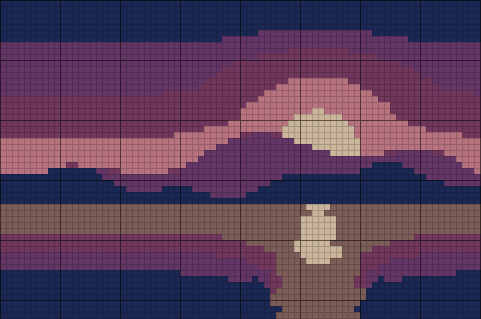 6 colors
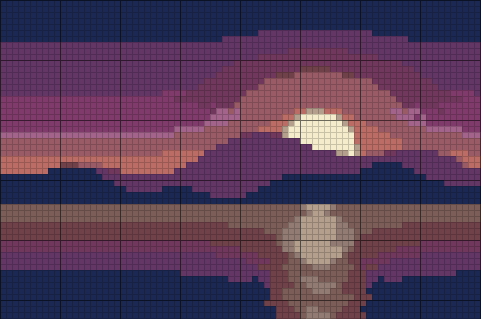 12 colors
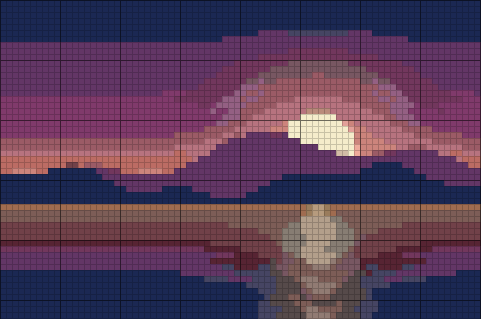 30 colors
For most photos, 20–30 colors is the sweet spot. Cartoons and illustrations need 8–16, and logos often only 3–6. If a face looks blotchy, add colors; if the pattern looks noisy, remove them.
4. Clean up confetti
"Confetti" is the stitchers' name for isolated single stitches of a color surrounded by other colors. They are tedious to stitch — each one means starting and ending a thread — and they rarely add visible detail. FlossChart's Remove confetti setting replaces isolated stitches with the most common neighbouring color. Light removes only true singles; Strong also smooths pairs and is ideal for fur, foliage and backgrounds. Learn more in What are confetti stitches?
5. Fine-tune brightness, contrast and dithering
If dark areas merge into one big blob, raise brightness a little. If the image looks flat, add contrast. Dithering mixes neighbouring colors to suggest in-between shades; it smooths gradients but creates confetti, so keep it at 0–30% for cross stitch (diamond painting can take more).
6. Leave the background unstitched (optional)
Many modern patterns leave the background as bare fabric, which saves hours and looks clean. In FlossChart, click a color in the floss list to toggle it off — the chart and floss totals update instantly.
7. Print the chart and buy your floss
Click Print / Save PDF. You'll get a cover page with a color preview, the finished size, and a floss list with DMC numbers and estimated skeins, followed by numbered symbol chart pages with a bold line every 10 stitches. See how to read a cross stitch pattern if you're new to charts, and how much floss you need for buying tips.
Checklist
- Crop the photo to the subject and simplify the background.
- Choose a width based on detail and time (70–120 stitches for most portraits).
- Start with 20–30 colors for photos.
- Keep confetti removal on Light or Strong.
- Toggle off background colors you don't want to stitch.
- Print the chart, compare real floss in daylight, and start stitching from the center.