Fuse beads — sold under names such as Perler, Hama and Artkal — are small plastic tubes that melt just enough under an iron to stick to their neighbors. The same basic method works for all of them, but the brands' plastics melt at slightly different speeds, so treat the times below as a starting point and test on a small piece first. This site is not affiliated with any bead brand.
What you need
- A household iron without water (switch off steam and empty the tank).
- Ironing paper: the paper supplied with the beads, baking paper (parchment) or a reusable silicone/PTFE sheet. Wax paper is not suitable — the wax melts.
- A flat, heat-proof surface. A wooden board or the ironing board works; a soft ironing board cover can make pieces wavy.
- Heavy books or a flat tray for cooling.
Children should always iron with an adult. The beads and the paper get hot.
Step by step
- Check the board. Look along the rows for missing beads and for beads lying on their side. A bead on its side won't fuse properly and leaves a hole.
- Heat the iron to a medium setting (often marked for silk or wool, two dots). Too hot and the beads flatten into a solid sheet; too cool and they don't stick.
- Cover the beads with the ironing paper, smoothing it so it lies flat.
- Iron in slow circles for about 10–20 seconds, keeping the iron moving and the pressure light. Lift the paper at a corner to check: the holes should still be visible but have shrunk a little, and the beads should be stuck together.
- Let it cool slightly, then peel the paper off and lift the piece from the pegboard.
- Flip and iron the back the same way. Ironing both sides makes the piece much stronger.
- Cool it flat under weight. Place the warm piece under a book or tray for a few minutes. This is the step that prevents curling.
How melted should it be?
That is a matter of taste. Lightly fused beads keep their round holes and look like classic bead art, but they are more fragile. Fully fused beads have closed holes and a smooth surface that is very strong, but details soften. Many people iron the front lightly so it keeps its texture, and the back a bit more for strength.
Fixing common problems
| Problem | Cause | Fix |
|---|---|---|
| Beads not sticking | Iron too cool or too short | Iron a few seconds more, with slightly more pressure |
| Piece curls up | Cooled unevenly | Re-warm briefly under paper and cool flat under weight |
| Melted flat, no holes | Iron too hot or too long | Lower the temperature and check more often next time |
| Some beads loose | Beads on their side or uneven pressure | Iron that area again; replace beads lying on their side first |
| Paper sticks | Paper too thin or worn | Use fresh baking paper or a reusable sheet |
Ironing big designs on several boards
Large designs are split over several square pegboards. A standard large square board has 29 × 29 pegs, so a design of 58 × 58 beads uses a 2 × 2 grid of boards and 87 × 87 uses 3 × 3. The pattern maker labels each board — A1, A2 across the top row, B1, B2 below — and prints every board on its own page with its own bead counts.
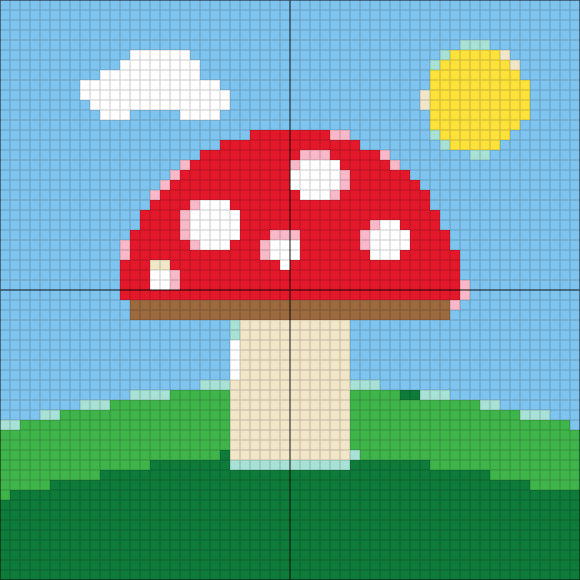 2 × 2 boards
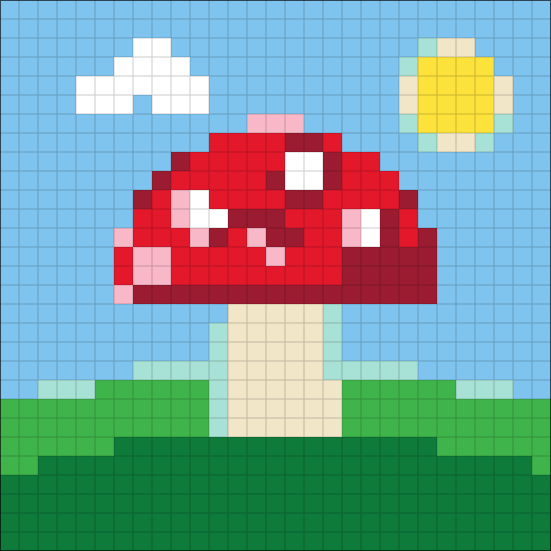 One 29 × 29 board
Clip the boards together if they connect, or place them edge to edge on a flat surface. Iron the whole front at once under one large sheet of paper so the seams between boards fuse too. Then lift the piece carefully — supporting it from below with a flat tray — and iron the back. If your design is too large to iron at once, iron each board's front lightly, then join the sections by placing them face down and ironing across the seams from the back.
| Boards | Beads | Midi (5 mm) | Mini (2.6 mm) |
|---|---|---|---|
| 1 × 1 | 29 × 29 = 841 | 14.5 × 14.5 cm | 7.5 × 7.5 cm |
| 2 × 1 | 58 × 29 = 1,682 | 29.0 × 14.5 cm | 15.1 × 7.5 cm |
| 2 × 2 | 58 × 58 = 3,364 | 29.0 × 29.0 cm | 15.1 × 15.1 cm |
| 3 × 2 | 87 × 58 = 5,046 | 43.5 × 29.0 cm | 22.6 × 15.1 cm |
| 3 × 3 | 87 × 87 = 7,569 | 43.5 × 43.5 cm | 22.6 × 22.6 cm |
| 4 × 4 | 116 × 116 = 13,456 | 58.0 × 58.0 cm | 30.2 × 30.2 cm |
Bead sizes
Most pegboards and patterns are for midi beads of about 5 mm. A 29-bead board is then roughly 14.5 cm (5.7 in) wide. Mini beads of about 2.6 mm make a design about half the size and are best ironed at a lower temperature for a shorter time. The pattern maker shows the finished size for both.
Making the pattern
Any picture can become a bead pattern, but pixel art, logos and cartoons give the crispest results. Open the fuse bead pattern maker, set the width in beads (29 for one board, 58 for two boards across), choose how many colors you have, and match the swatches to your actual beads. Then print the board pages and fill one board at a time.
Keeping finished pieces flat
Store finished pieces flat and away from sunny windowsills and hot cars — warm plastic can warp again. Coasters and trivets benefit from a fully fused back. Magnets and keyrings can be glued on with a strong craft glue after the piece has cooled completely.