Pixel art is one of the most satisfying survival projects in Minecraft: a single image, made of thousands of blocks, visible from across your base. It is also one of the easiest to get wrong. Builders start with a picture that is too big, run out of a key color two-thirds of the way up, or misplace a row and only notice from far away. This guide walks through a workflow that avoids all three.
1. Pick an image that converts well
The best images for block art have a clear subject, strong outlines and large areas of flat color. Game sprites, cartoon characters, logos, flags and simple illustrations convert almost perfectly, because they were already designed with a limited palette. Photos can work too, but they need more blocks to stay recognisable and usually benefit from dithering.
Before you commit, crop the image so the subject fills the frame. Empty background costs just as many blocks as the subject. If the background is plain, consider removing it: transparent pixels in a PNG become air in the generator, so you only build the subject itself.
2. Choose a size you can actually finish
Every pixel is one block, so the block count is simply width × height. That number grows with the square of the size: doubling the width of a square image quadruples the blocks.
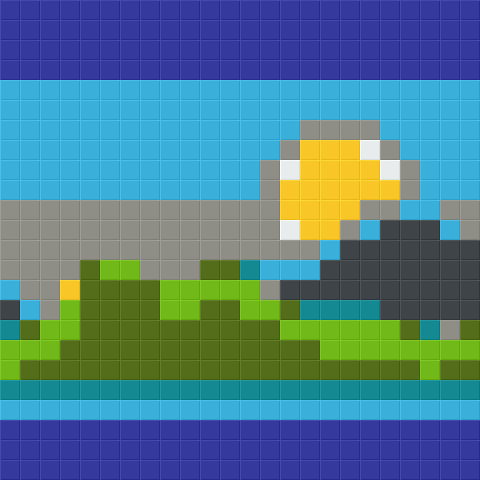 24 × 24 wool
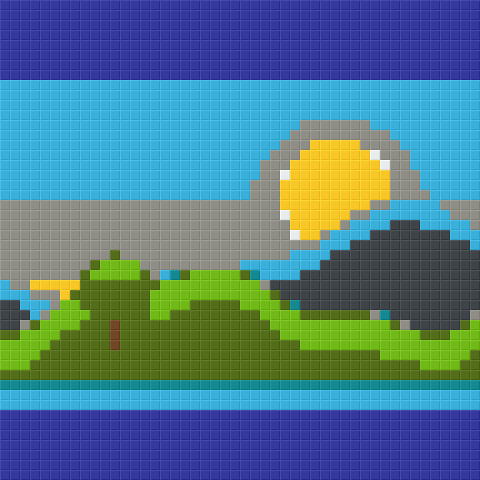 48 × 48 wool
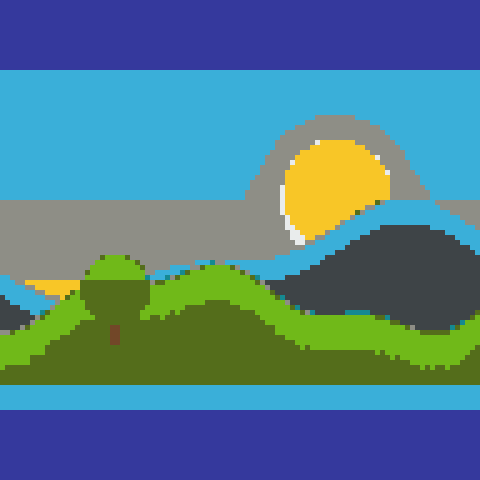 96 × 96 wool
| Size | Blocks | Stacks | Shulker boxes |
|---|---|---|---|
| 16 × 16 | 256 | 4 | 0.1 |
| 32 × 32 | 1,024 | 16 | 0.6 |
| 48 × 48 | 2,304 | 36 | 1.3 |
| 64 × 64 | 4,096 | 64 | 2.4 |
| 96 × 96 | 9,216 | 144 | 5.3 |
| 128 × 128 | 16,384 | 256 | 9.5 |
For a first survival build, 32 × 32 to 64 × 64 is the sweet spot. It is big enough to show a face or a character clearly and small enough to gather in a few play sessions. Read our size guide for more detail on choosing dimensions.
3. Pick a palette that matches your resources
Wool is the cheapest palette in survival: one sheep farm and some dyes give you all 16 colors. Concrete is brighter and fireproof but needs sand and gravel. Terracotta has muted earth tones that suit skin and landscapes. If you are mid-game with a big storage system, the all-blocks palette smooths gradients by adding planks, stone and more. Our palette comparison covers the trade-offs.
Whatever you choose, look at the material list before you start. If a color you can’t easily get appears only a few dozen times, click it in the list to exclude it; the generator re-matches those pixels to the nearest remaining block.
4. Gather materials in shulker boxes
The material list splits every count into shulker boxes, stacks and loose blocks — for example 1 SB + 5 × 64 + 12. Fill one shulker box per color for the big ones and a mixed box for the rare colors. Label boxes with an anvil-renamed name or by putting them in matching colored shulker boxes. The materials guide has farm suggestions for every palette.
5. Prepare the site
Find a flat area with enough room in front of the wall to step back and look. Mark the bottom-left corner of the build with a distinct block and write down its coordinates (F3 on Java, the Show Coordinates option on Bedrock). Every block in the generator’s grid view and row guide is relative to that corner: x counts to the right as you face the wall, and y counts upwards.
For tall builds, put up scaffolding along the front face. Scaffolding blocks can be climbed and broken from the bottom, and they let you stand right in front of the row you’re placing. Alternatively build from a “pillar” of dirt you move along, or simply fly in creative mode.
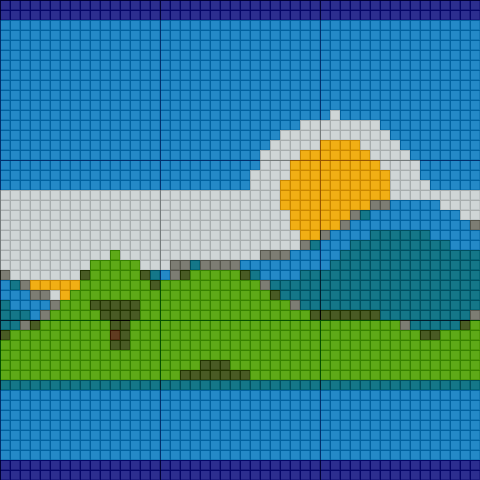 48 × 48 concrete with grid
6. Build row by row, from the bottom
Use the row guide below the generator: pick row 1 and it lists runs such as “x 1–12: 12 × White Wool, x 13–14: 2 × Black Wool”. Place one run at a time, counting along the row below as a ruler. When a row is finished, step back and compare it with the preview — fixing a mistake now costs one block; finding it twenty rows later means a lot of breaking.
Building bottom-up has two advantages. First, every block has support, which matters if you include gravity-affected blocks by accident. Second, the finished rows act as a ruler for the next ones, so mistakes don’t compound.
7. Check from a distance and fix errors
Every ten rows, fly or walk back far enough to see the whole thing. Misplaced blocks jump out at a distance even when they’re invisible up close. Shears break wool instantly, and an Efficiency pickaxe makes short work of concrete and terracotta.
8. Light it and protect it
Place lighting behind or above the art, not on its face, so torches don’t spoil the image. Wool burns, so keep lava and fire away; on servers, claim the land or build in a protected area. If you used a schematic mod, remember to unload the schematic when you’re done so the ghost blocks don’t confuse you later.
Common mistakes
- Mirrored art. If you build from behind the wall, the image is flipped. Always build facing the side people will see.
- Off-by-one rows. Count from your corner marker, not from the ground, especially on uneven terrain.
- Running out of one color. Gather everything first, or at least the biggest colors, and check the list again after excluding blocks.
- Over-dithering. Dithering helps photos but makes sprites noisy. Use “None” for flat art.
With a good image, a realistic size and a full set of shulker boxes, a 64 × 64 build is a satisfying weekend project — and it will be the first thing visitors see in your base.