A screen-printing stencil is a woven polyester mesh coated with light-sensitive emulsion. Wherever the film is clear, the emulsion washes out and ink can pass through. Every halftone dot has to become a tiny opening in that stencil — and survive exposure, washout and the squeegee. That is why screen-printing halftones are coarser and more carefully tuned than halftones for paper.
Step 1: choose the halftone frequency (LPI) from your mesh
The most important rule: a dot must sit on more than one mesh opening. If dots are about the same size as the openings, some land on a thread and disappear, others land in an opening and print — producing random speckle and moiré. A widely used rule of thumb is that the line count should be no higher than the mesh count divided by four to five:
| Mesh (threads per inch) | Suggested LPI | Cell at 300 DPI |
|---|---|---|
| 110 | 22–28 | 11–14 px |
| 156 | 32–40 | 8–9 px |
| 200 | 40–50 | 6–7.5 px |
| 230 | 45–55 | 5.5–6.5 px |
| 305 | 60–75 | 4–5 px |
To convert LPI to cell size in our generator, divide your output resolution by the LPI: at 300 DPI, 45 LPI is a 6.7 px cell. The LPI and mesh calculator does this for you, including the output width in pixels for your print size.
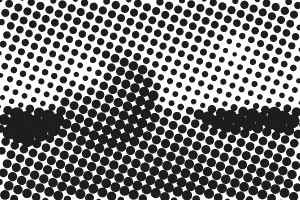 55 LPI
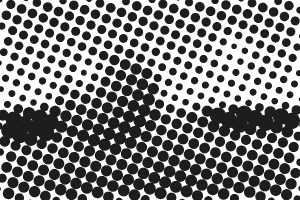 46 LPI
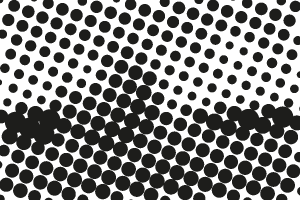 35 LPI
Most shops print simulated process and one-color photo jobs at 45–55 LPI on 200–230 mesh. Water-based and discharge inks can go a little finer; thick plastisol on a 110 mesh needs coarse dots.
Step 2: set the screen angle
Mesh threads run at 0° and 90°, so a halftone at 0° or 45° can line up with the threads and produce moiré — a wavy interference pattern. Screen printers therefore use 22.5° (or 67.5°) for single-color halftones. When printing several colors with halftones, offset each one: 22.5°, 52.5° and 82.5° for three colors is common, or use the same angle for all colors on simulated process jobs and rely on mesh tension and registration. Mesh is not always perfectly square on the frame, so test-print a gradient strip if you see moiré.
Step 3: limit the minimum and maximum dot
Emulsion cannot hold an arbitrarily small dot. Below roughly 8–12% (depending on mesh, emulsion thickness and exposure) highlight dots either wash out or are too small to print, so the image jumps from light grey straight to bare shirt. Similarly, above about 88–92% the gaps between dots are too small to open, and the shadows fill in solid.
Set a minimum dot and maximum dot to control this deliberately. Tones lighter than the minimum either round up to the minimum dot or drop to nothing; tones darker than the maximum go solid. You keep a clean, printable range instead of an uncontrolled loss of detail.
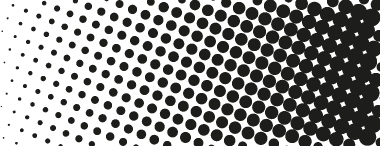 0–100%
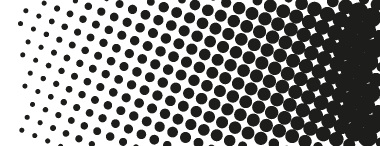 10–90%
Step 4: compensate for dot gain
Ink spreads as it is pushed through the mesh and into the fabric. A 50% dot in the file can print as 60–65% on a cotton shirt with plastisol. Garments look darker and muddier than the screen preview. To compensate, apply a negative dot gain in the generator: −5% for water-based ink on smooth fabric, −8 to −12% for plastisol on cotton, more for fleece or tri-blends. The adjustment is strongest in the midtones and leaves highlights and solids alone.
Step 5: dot shape
Round dots are the safe default — they are the easiest to expose and print. If portraits show a sudden jump in the dark midtones (where round dots start touching), try the diamond dot, which joins at 50% and gives a smoother transition. Line screens are useful for special effects and for very coarse mesh.
Step 6: export for film or CTS
- Set the output width to the print width × 300 (for example, 12 in × 300 = 3600 px).
- Use black ink on a white background — film printers and RIPs expect black for opaque areas.
- Export PNG for film or computer-to-screen, or SVG if you want to place the dots as vectors in Illustrator or CorelDRAW alongside the rest of the artwork.
- If your RIP also applies a halftone, turn it off for this layer so the dots are not screened twice.
Dark garments
On a black shirt you usually print the light parts of the image with white ink. Tick Invert so the dots follow lightness instead of darkness, and print that layer as the white plate or underbase. For a halftoned underbase under colors, use a slightly coarser cell than the top colors so the white does not fill in.
Common problems
- Moiré on the shirt: change the angle (22.5° or 67.5°), lower the LPI, or check mesh is square to the frame.
- Highlights disappear: raise the minimum dot or reduce exposure time.
- Shadows fill in: lower the maximum dot, use more negative dot gain, or print with less off-contact pressure.
- Grainy, uneven dots: LPI too high for the mesh — go coarser.
Ready to try? Open the screen printing preset, which starts with a 22.5° round dot, 10–90% dot limits and −8% dot gain.