Halftone generator for screen printing
Make screen printing halftones online: set LPI-friendly cell size, 22.5° angle, minimum and maximum dot, then export a crisp single-color PNG or vector SVG.
Tone: contrast, dot gain, min / max dot
Screen printing halftones: what to know
Screen printing cannot print grey. Every shade in a one-color print is made of solid ink dots of different sizes, so the photo or gradient has to be converted into a halftone before it is output to film or a computer-to-screen system. This page opens the generator with settings that hold up on a typical 156–230 mesh: a round dot, a 22.5° screen angle that avoids moiré with the mesh threads, and a 10% minimum dot so the smallest dots do not wash out of the stencil.
Pick the cell size from your print size and mesh. A common rule is that the halftone frequency (LPI) should be no more than a quarter to a fifth of the mesh count: 45–55 LPI on 230 mesh, 35–45 LPI on 156 mesh. At 300 DPI output, cell size in pixels is 300 ÷ LPI, so 45 LPI is roughly a 7 px cell. Use the LPI and mesh calculator if you are unsure.
Plastisol and water-based inks spread a little on the shirt — dot gain — so midtones print darker than on screen. The negative dot gain preset pulls midtones back about 8%. Export the result as a 2400 px PNG for film printing, or as SVG if your RIP or vector software prefers clean vector dots.
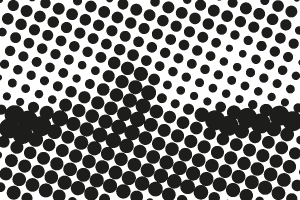 33 LPI
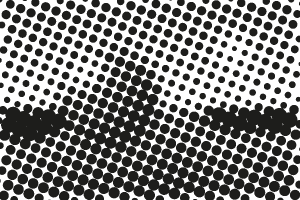 43 LPI
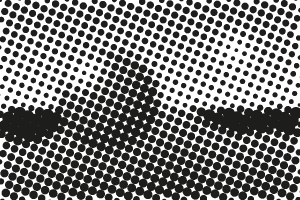 55 LPI
Recommended settings
- Use 22.5° (or 67.5°) for single-color jobs on angled mesh
- Cell size ≈ 300 ÷ LPI at 300 DPI
- Minimum dot 8–12%, maximum dot 88–92%
- Negative dot gain (−5 to −12%) for plastisol on cotton
How to make a halftone
- Add an image. Click Upload image, drag a file onto the preview or paste with Ctrl/⌘+V. Photos, logos and gradients all work; transparent PNGs keep their transparency.
- Choose shape and size. Pick dot, line, square, diamond or cross, then set the cell size (dot spacing) and screen angle — or switch to CMYK for four color separations.
- Tune the tones. Open Tone to adjust contrast, dot gain and the minimum and maximum printable dot for screen printing, DTF or engraving.
- Download. Choose the output width and click Download PNG, or SVG for vector dots. Tick Transparent background to export only the ink.
FAQ
How do I make a halftone for screen printing?
Screen printing cannot print grey. Every shade in a one-color print is made of solid ink dots of different sizes, so the photo or gradient has to be converted into a halftone before it is output to film or a computer-to-screen system. This page opens the generator with settings that hold up on a typical 156–230 mesh: a round dot, a 22.5° screen angle that avoids moiré with the mesh threads, and a 10% minimum dot so the smallest dots do not wash out of the stencil.
Can I export a vector SVG halftone?
Yes. Click SVG to download every dot, line, square, diamond or cross as a vector path. Each ink is a single compound path in a rotated group, so it opens cleanly in Illustrator, Inkscape, Affinity Designer, Figma, Cricut Design Space and LightBurn.
What cell size should I use?
Cell size is the distance between dots in pixels. At 300 DPI output, cell size = 300 ÷ LPI: 6–7 px is about 45–50 LPI (screen printing on 230 mesh), 10 px is 30 LPI, and 16 px and up gives a bold pop-art look.
What are the standard CMYK halftone angles?
Cyan 15°, magenta 75°, yellow 0° and black 45°. The three strong inks are 30° apart, which produces a small rosette instead of a visible moiré; yellow is placed on the remaining angle because its moiré is the least noticeable.