Halftone for laser engraving
Prepare photos for laser engraving with a clean halftone: pick dot size from your laser spot, add a minimum dot, then export PNG or SVG for xTool, Glowforge or LightBurn.
Tone: contrast, dot gain, min / max dot
Laser engraving halftones: what to know
A laser is either on or off, so a photo has to be reduced to marks before it can be engraved. Error-diffusion dithering is one option; a halftone is another, with a big advantage on wood, slate, leather and anodized aluminum: the dots are regular and large enough that the material can actually hold them, so the image does not turn muddy.
Match the cell size to your spot size and output resolution. At 254 DPI (0.1 mm per pixel) an 8 px cell is a 0.8 mm screen — fine on slate and anodized aluminum. On wood, where the burn spreads, use 10–14 px cells and a 12–15% minimum dot. The higher contrast in this preset helps the midtones separate on natural materials.
Export a PNG at the exact pixel width your software expects (width in inches × DPI) and turn off its own dithering, or export SVG and engrave the dots as filled vectors for perfectly round marks.
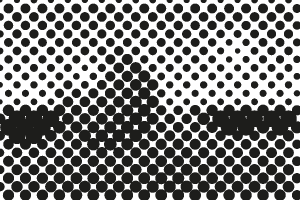 Dot
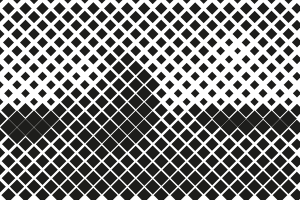 Square
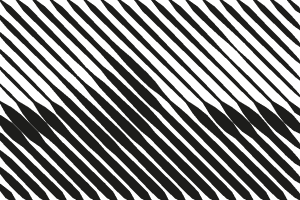 Line
Recommended settings
- Output width = engraving width × DPI
- Wood: 10–14 px cells; slate and metal: 6–8 px
- Minimum dot 12–15% avoids invisible specks
- Disable your laser software dithering for halftone PNGs
How to make a halftone
- Add an image. Click Upload image, drag a file onto the preview or paste with Ctrl/⌘+V. Photos, logos and gradients all work; transparent PNGs keep their transparency.
- Choose shape and size. Pick dot, line, square, diamond or cross, then set the cell size (dot spacing) and screen angle — or switch to CMYK for four color separations.
- Tune the tones. Open Tone to adjust contrast, dot gain and the minimum and maximum printable dot for screen printing, DTF or engraving.
- Download. Choose the output width and click Download PNG, or SVG for vector dots. Tick Transparent background to export only the ink.
FAQ
How do I make a halftone for laser engraving?
A laser is either on or off, so a photo has to be reduced to marks before it can be engraved. Error-diffusion dithering is one option; a halftone is another, with a big advantage on wood, slate, leather and anodized aluminum: the dots are regular and large enough that the material can actually hold them, so the image does not turn muddy.
Can I export a vector SVG halftone?
Yes. Click SVG to download every dot, line, square, diamond or cross as a vector path. Each ink is a single compound path in a rotated group, so it opens cleanly in Illustrator, Inkscape, Affinity Designer, Figma, Cricut Design Space and LightBurn.
What cell size should I use?
Cell size is the distance between dots in pixels. At 300 DPI output, cell size = 300 ÷ LPI: 6–7 px is about 45–50 LPI (screen printing on 230 mesh), 10 px is 30 LPI, and 16 px and up gives a bold pop-art look.
What are the standard CMYK halftone angles?
Cyan 15°, magenta 75°, yellow 0° and black 45°. The three strong inks are 30° apart, which produces a small rosette instead of a visible moiré; yellow is placed on the remaining angle because its moiré is the least noticeable.