Cross halftone generator
Make a cross or plus-sign halftone pattern from any picture — arms grow with darkness and join into a grid in the shadows. Free, live preview, PNG and SVG export.
Tone: contrast, dot gain, min / max dot
About the cross halftone screen
Crosses make an unusual, graphic halftone: small plus signs in the highlights, longer arms in the midtones and a woven grid in the shadows. It is popular for posters, album covers and textile patterns.
 0 → 100%
Crosses read best at larger cell sizes (14 px and up) where the shape is recognisable.
Set the angle to 45° to turn the plus signs into × marks.
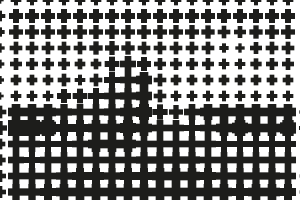 0°
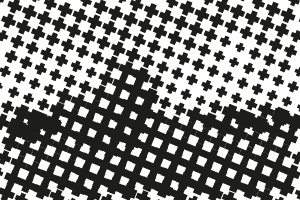 22.5°
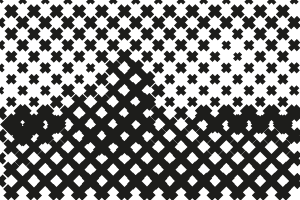 45°
Compare the other shapes: halftone dots, line halftone, square halftone, diamond halftone. New to halftones? Start with what is a halftone.
How to make a halftone
- Add an image. Click Upload image, drag a file onto the preview or paste with Ctrl/⌘+V. Photos, logos and gradients all work; transparent PNGs keep their transparency.
- Choose shape and size. Pick dot, line, square, diamond or cross, then set the cell size (dot spacing) and screen angle — or switch to CMYK for four color separations.
- Tune the tones. Open Tone to adjust contrast, dot gain and the minimum and maximum printable dot for screen printing, DTF or engraving.
- Download. Choose the output width and click Download PNG, or SVG for vector dots. Tick Transparent background to export only the ink.
FAQ
How do I make a cross halftone effect?
Upload an image, the shape is already set to cross. Adjust cell size and angle, then download a PNG or SVG.
Can I export cross halftone as SVG?
Yes. Every mark is exported as a vector path you can scale, recolor or cut.
What cell size should I use?
Cell size is the distance between dots in pixels. At 300 DPI output, cell size = 300 ÷ LPI: 6–7 px is about 45–50 LPI (screen printing on 230 mesh), 10 px is 30 LPI, and 16 px and up gives a bold pop-art look.